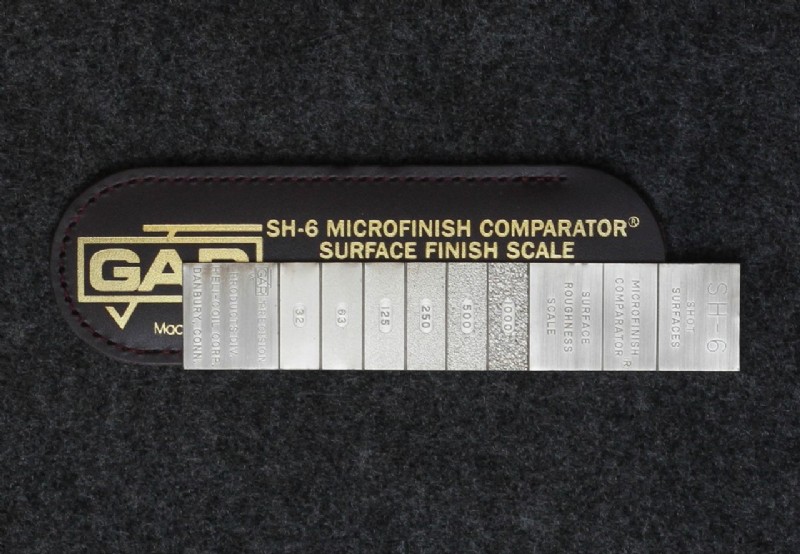
- The SH-6 Shot-Blast MICROFINISH COMPARATOR is rectangular in shape (1"x 5") and is a corrosion resistant electroformed nickel duplicate of actual shot-blasted surfaces.
- Six replicated shot-blasted surface finish specimens ranging from 32 to 1000 microinches.
- It is used in specifying and controlling surface roughness when a product having the appearance of typically shot-blasted surfaces is required.
- There are six replicated shot-blasted surface finish specimens ranging from 32 to 1000 microinches.
- The SH-6 Microfinish COMPARATOR is supplied in a leatherette case with engineering data and instructions.
- The SH-6 is also available in metric with micrometer designations.
- Supplied with a Short Form Certification, Long Form Calibration Certificate available (ISO/IEC 17025:2017)
- Allow 3 Weeks for Calibration Certificate
Returns
If a comparator is purchased without calibration, it cannot be returned if the customer then has it calibrated on their own and it fails calibration. GAR will only stand behind our own, calibrated comparators.


