Logo for Judge Tool and Gage
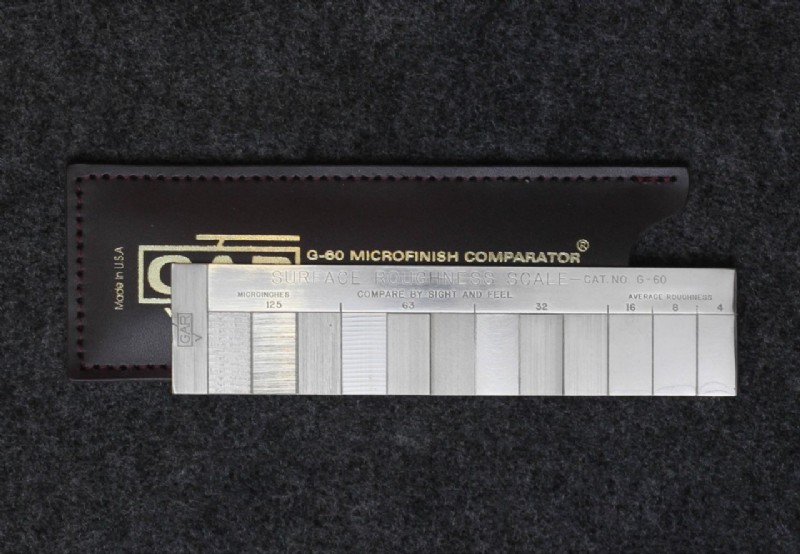
GAR - (G-60) Conventional Machining - Microfinish Comparator - 4 - 125 µin

GAR - (G-60) Conventional Machining - Microfinish Comparator - 4 - 125 µin

Starting at $92.00
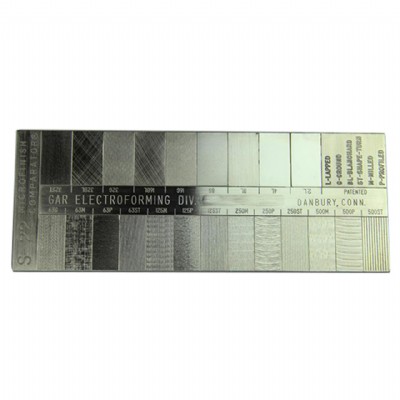
  • Twelve replicated machined surface finish specimens with examples of five different machining processes: lapped, ground, profiled, shape-turned and milled- ranging from 4 to 125 microinches.
  • The G-60 Conventional Machining MICROFINISH COMPARATOR is rectangular in shape (1 3/8" x 6") and is a corrosion resistant electroformed nickel duplicate of actual machined surfaces.
  • There are twelve replicated machined surface finish specimens with examples of five different machining processes: lapped, ground, profiled, shape-turned and milled- ranging from 4 to 125 microinches.
  • The G-60 MICROFINISH COMPARATOR is supplied in a leatherette case with engineering data and instructions.
  • Allow 3 Weeks for Calibration Certificate

Returns

If a  comparator is purchased without calibration, it cannot be returned if the customer then has it calibrated on their own and it fails calibration. GAR will only stand behind our own, calibrated comparators.

Additional Information +
Item No. Type Inch or Metric Our Price QTY
G-60 No Calibration Inch $92.00
G-60M No Calibration Metric $92.00
G-60C with Calibration Certificate Inch $440.00
G-60MC with Calibration Certificate Metric $440.00

Features:

Twelve replicated machined surface finish specimens with examples of five different machining processes: lapped, ground, profiled, shape-turned and milled- ranging from 4 to 125 microinches.

The G-60 MICROFINISH COMPARATOR Surface Roughness Scale is made by a dual electroforming process wherein nickel is electrodeposited to provide an exact reproduction in intricate detail. The same electroforming process used to produce the Surface Roughness Scale is available from GAR Electroforming to serve your product needs.

The surfaces used in this scale are reproductions of accurately machined surfaces measured in microinches (millionths of an inch 0.000001"). The numbers engraved alongside each surface are the average deviation from the mean surface expressed in microinches.

The G-60 MICROFINISH COMPARATOR Surface Roughness Scale provides the industry with established flat surface roughness specimens for visual and tactual comparison.

It is used in specifying and controlling surface roughness when a product having the appearance of typically machined surfaces is required.

The G-60 MICROFINISH COMPARATOR Surface Roughness Scale provides an economical tool which permit roughness to be specified on the same basis as linear measurements. The surfaces presented are the result of years of research and engineering. Details covering this subject are now published in the American National Standards Institute (ANSI) specification titled: "Surface Texture, Surface Roughness , Waviness and Lay" ANSI/ASME B46.1

Place the MICROFINISH COMPARATOR Surface Roughness Scale alongside your work piece. Slide the scale so that the rectangle with the surface roughness you want is adjacent to the piece you are examining. Compare by drawing the tip of the fingernail across each surface at right angles to the tool mark. The feel of the fingernail contact must be the same if the finishes are identical.