Features:
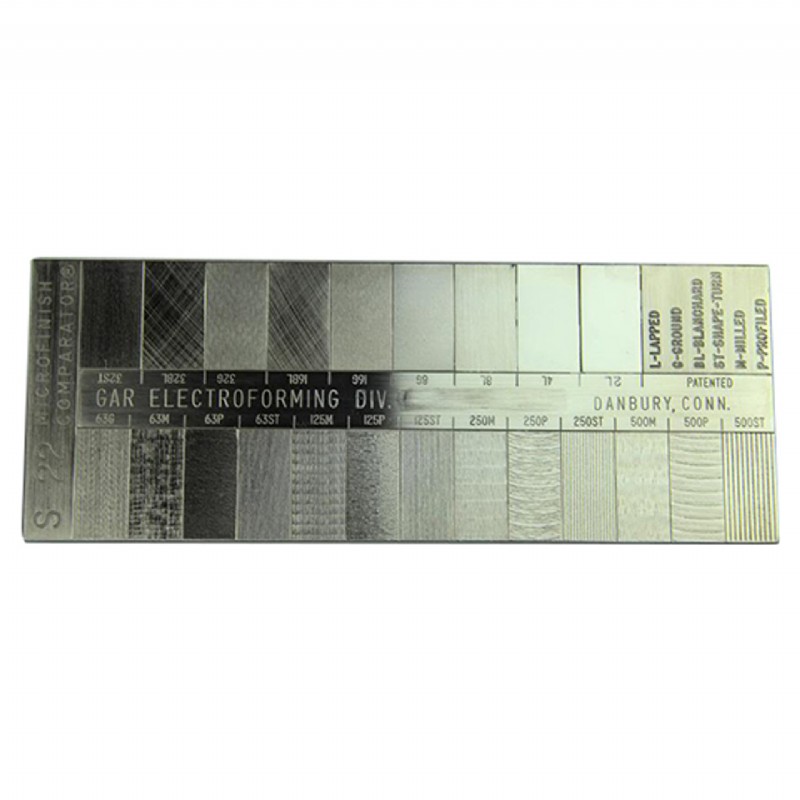
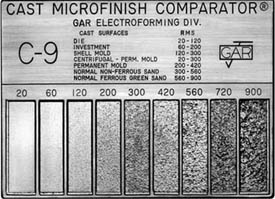
Twenty-two replicated machined surface finish specimens with examples of six different machining processes: Lapped, Ground, Blanchard Ground, Shape-Turned, Milled and Profiled- ranging from 2 to 500 microinches.
The S-22 MICROFINISH COMPARATOR Surface Roughness Scale provides an economical tool which permits roughness to be specified on the same basis as linear measurements. The surfaces presented are the result of years of research and engineering. Details covering this subject are now published in The American National Standards Institute (ANSI) specification titled: "Surface Texture, Surface Roughness, Waviness and Lay." ANSI/ASME B46.1
The surfaces used in this scale are reproductions of accurately machined surfaces measured in microinches (millions of an inch - 0.000001"). The numbers engraved alongside each surface are the average deviation from the mean surface expressed in microinches.
Place the MICROFINISH COMPARATOR Surface Roughness Scale alongside your work piece. Slide the scale so that the rectangle with the surface roughness you want is adjacent to the piece you are examining. Compare by drawing the tip of the fingernail across each surface at right angles to the tool mark. The feel of the fingernail contact must be the same if the finishes are identical.
The S-22 MICROFINISH COMPARATOR Surface Roughness Scale provides industry with established flat surface roughness specimens for visual and tactual comparison. It is used in specifying and controlling surface roughness when a product having the appearance of typically machined surfaces is required.

